
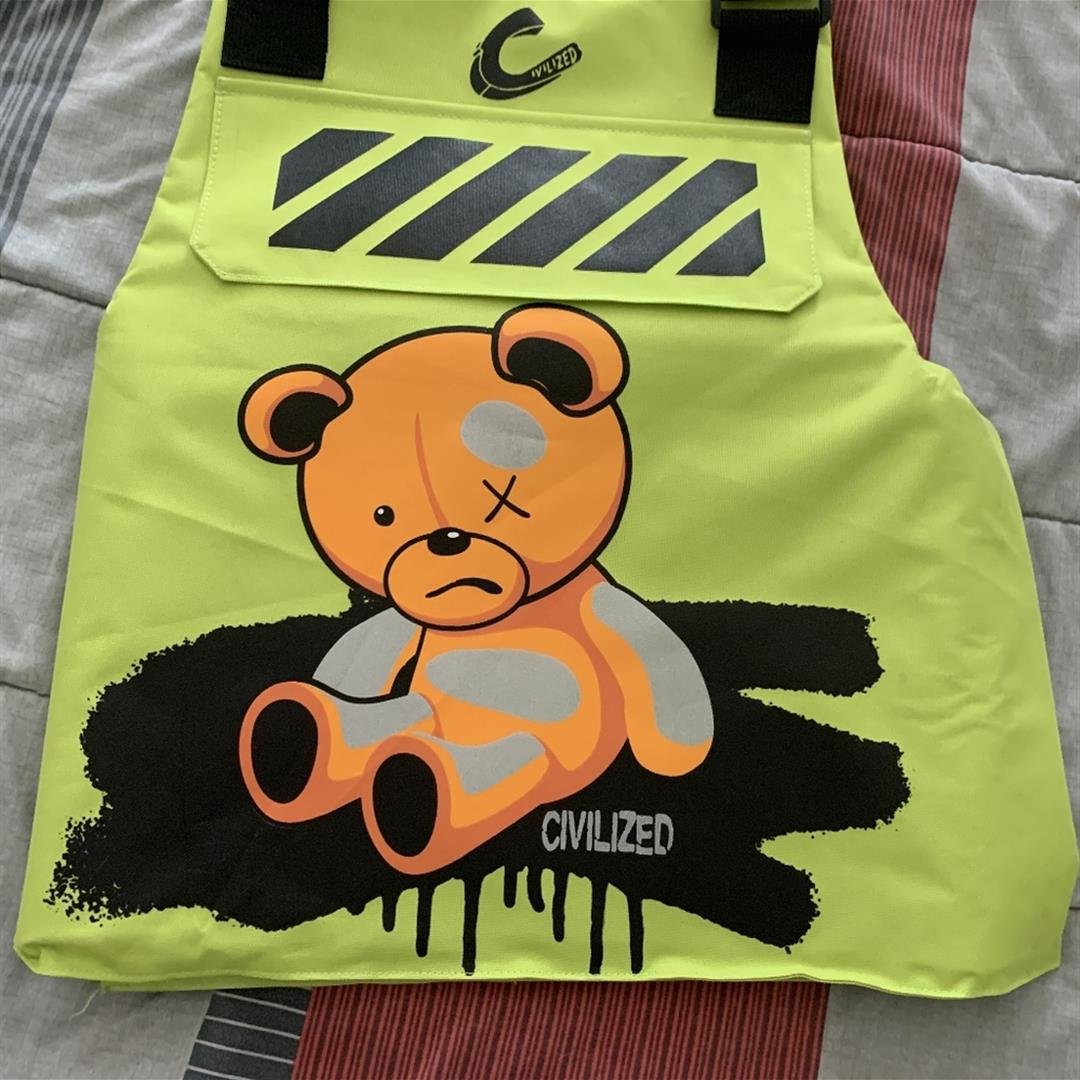
There’s a moment every gearhead remembers: you unbox a plain tactical vest, and it looks like everyone else’s. Same fabric, same shape, same silence. Then you realize — this is a blank canvas. At MARKYOURVIBE the whole point is Your Gear, Your Rules: you upload the art, drop it anywhere on the vest, and walk out with equipment that is 100% you.
If you’ve never designed your own before, the freedom can feel overwhelming. So here’s a simple, five-step path from blank vest to battle-ready personal statement.
1. Pick your base — the foundation of “you”
Before any artwork goes on, you choose the platform. A lightweight chest rig keeps you mobile for airsoft and paintball. A full tactical-style vest gives you the structured, tactical silhouette. A minimalist range vest is the cleanest canvas for bold graphics.
Not sure which fits your body and use case? Our sizing guide walks you through measuring for the perfect fit, and the materials breakdown explains the difference between nylon, Cordura, and cotton so you can match durability to your budget.
2. Plan your layout before you upload
The biggest beginner mistake is uploading one giant logo and calling it done. Think like a designer:
- Front panel — your primary identity. Name tape, callsign, or a hero graphic.
- Shoulders & straps — perfect for thin repeating patterns, flags, or text.
- Back panel — the largest canvas. This is where a full-art print or a big statement shines.
- Velcro real estate — leave room for swap-in morale patches.
Sketch it on paper first. A 30-second layout plan saves you from a cluttered result later.
3. Upload artwork that actually represents you
This is the fun part. You can drop in:
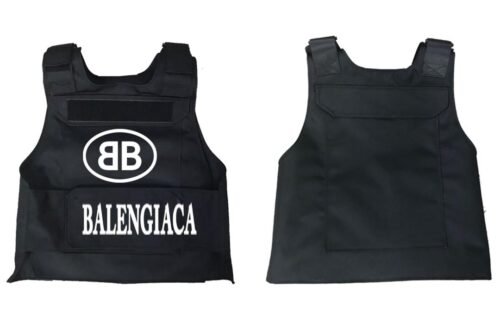
- A logo for your team, brand, or squad
- A name or callsign in your favorite font
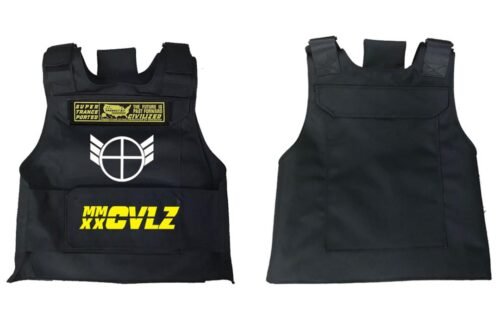
- A pattern or illustration — camo remix, anime motif, baroque luxury, streetwear graphic
- A photo for something truly one-of-a-kind
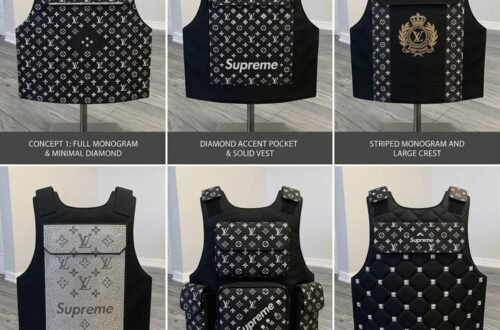
High-contrast, high-resolution files print sharpest. Need inspiration? Our 10 custom design ideas post is a goldmine of directions — from anime-style vests to gold-luxury finishes.
4. Choose materials and finish
Your base fabric sets the tone. Cordura is the workhorse — abrasion-resistant and built to last. Nylon keeps weight down for fast movement. Cotton blends give a softer, casual streetwear feel. The print method matters too: direct-to-garment for photographic detail, embroidery for that premium raised look, and velcro patches for endless reconfiguration.
Print-on-demand vs. bulk? If this is your first piece, on-demand production lets you order exactly one with zero minimums — ideal for testing your design before a squad-wide drop.
5. Add the patches that make it yours
A custom vest is never really finished — that’s the point. Hook-and-loop panels let you rotate morale patches by mood, event, or season. Matching set one day, ironic the next. That’s the “vibe” in MARKYOURVIBE: gear that moves with you instead of locking you into one look.
Care so your vibe lasts
Custom prints and embroidery last for years if you treat them right:
- Cold wash, inside out, gentle cycle
- No bleach, no fabric softener on printed areas
- Air dry — skip the high-heat tumble
- Store flat or on a wide hanger to keep the shape
Your gear, your rules
Designing your first custom tactical vest isn’t about following a template — it’s about marking your vibe on something you actually wear. Start with a base that fits, plan a layout with breathing room, upload art that means something, choose materials that match how you move, and leave room to evolve.
Ready to build yours? Head to MARKYOURVIBE and drop your art anywhere on the vest. Free shipping worldwide — and 100% you, guaranteed.
Frequently Asked Questions
What do I need before designing my first custom tactical vest?
You need your artwork or logo file, your vest size and an idea of where you want the design placed. Measure your chest and torso first, then upload your file and position it in the MarkYourVibe designer.
Can I order just one vest for my first order?
Yes. There is no minimum order quantity, so you can design and order a single custom tactical vest before committing to a bulk run.
Which file format should I upload?
Upload the highest resolution version you have. Vector files are ideal, but high-resolution PNG or JPG artwork also prints cleanly on the vest.
5 Comments on ““Your Gear, Your Rules: How to Design Your First Custom Tactical Vest””