
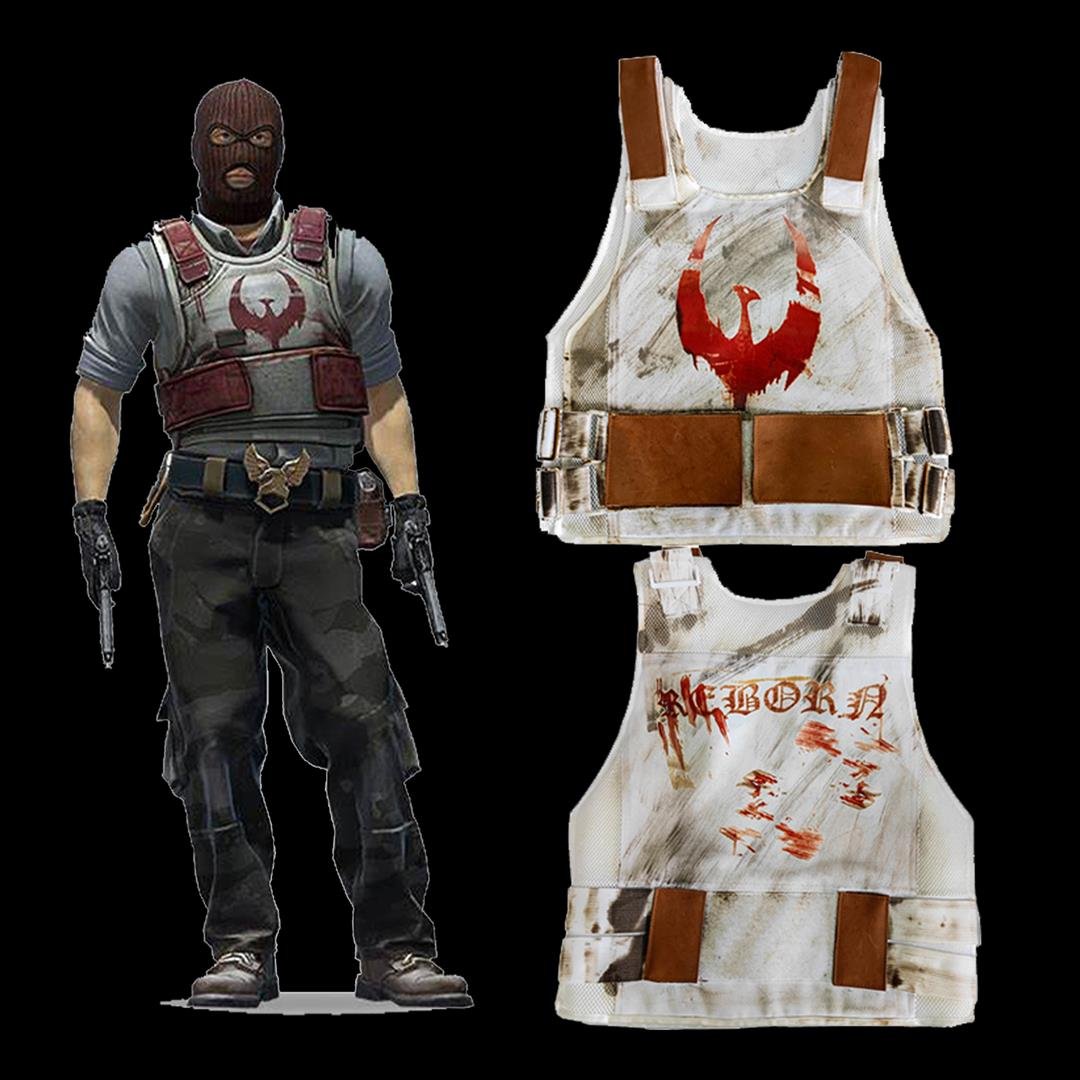
Ask any tactical vest owner what they change most often and the answer is rarely the vest. It’s the patches. One 3-inch patch can shift a vest from catalog product to “this belongs to someone,” and unlike a printed graphic it swaps in ten seconds before a game, a show, or a photoshoot. That flexibility is the appeal — and the problem. Without a plan, a vest looks like a scrapbook; with one, the same patches read as deliberate design.
Why patch layouts beat printed graphics for some owners
Printed artwork is permanent, seamless, and weatherproof: nothing peels, and the design covers the full panel edge to edge. Patches are the opposite — modular, removable, and limited by the size of your loop panels. So why choose patches at all?
Because a vest lasts years and your identity does not. Someone who plays airsoft on weekends, cosplays at conventions, and hits festivals in summer needs one vest that can be three outfits. Patches make that possible. Treat the loop field as a display system with rules, not empty space to fill as fast as possible. If you are still choosing the base garment, our guide to designing your first custom tactical vest covers the panel and fabric decisions that make patch planning easier later.
Map your real estate before you buy a single patch
Before ordering anything, photograph the vest front and back, flat and in good light. Then mark three zones.
Zone 1 — the anchor. The largest loop panel, usually upper chest or center back. One patch only, typically 3 to 4 inches wide. Whatever sits here defines the vest: a unit crest, team logo, flag, or character. Choose it first.
Zone 2 — the supporting cast. Smaller panels on the mag flaps, shoulder straps, or lower back. These hold 1.5 to 2 inch patches that echo the anchor through a shared color family or repeated shape. Two or three is plenty.
Zone 3 — the rotation. Remaining loop space for patches that come and go: event exclusives, trade patches, whatever you picked up last weekend. Keep it clearly separated from Zone 1 so swapping never disturbs the anchor composition.
Writing those zones down — literally, on a photo with a marker — prevents the most common patch-collecting mistake: buying patches because they look cool in isolation, then finding they fight each other on the same panel.
Patch types, and what each one is actually good for
The material matters more than the artwork. Four types cover almost everything:
- Embroidered patches are the classic: thread texture, stitched borders, a slightly soft look. Best for crests, lettering, and fine outlines. They wash well but can fray at the edge after years of hard use.
- PVC patches are molded rubber with crisp, raised edges. Waterproof, abrasion-proof, and better than thread at neon and gradients. Best for anything that will see mud, rain, or a paintball field.
- Woven patches are thinner and hold far finer detail than embroidery — small text, tight linework, soft gradients. Ideal when embroidered text would blur.
- Printed fabric patches are the lightest and cheapest. Great for large temporary graphics and giveaways, least durable over time.
A practical rule: PVC for the field, embroidered or woven for the anchor, printed for the rotation zone. Mixing all four in one zone is where layouts start to look accidental, because each finish fights for attention before the design even registers.
The three-second rule for balance
Step back six feet and look at the vest for three seconds. Whatever you notice first should be the anchor. If your eye jumps between four different patches, the layout is too loud.
Three adjustments fix most imbalance:
- Odd numbers read better than even. One large patch plus two small ones looks composed; two equal patches side by side look like a standoff.
- Give the anchor negative space. Leave at least an inch of bare loop around the largest patch. Crowding kills hierarchy faster than color clashes do.
- Repeat one element. A single repeated color, shape, or border style across several patches ties unrelated subjects together. Without a repeat, a themed collection still looks random.
This is the same principle behind printed layouts, applied in three dimensions — our custom tactical vest design ideas post covers the balance side in more depth.
Layout patterns that hold up over time
Three arrangements survive years of swapping.
The pyramid puts the anchor centered up high, with smaller patches stepping down and outward. It is stable, traditional, and works on almost any vest shape.
The column stacks two or three horizontal patches down one panel, aligned to the same width. Sharper and more modern, and easier to keep tidy because misalignment is instantly visible.
The corner cluster keeps one panel almost empty and groups everything into a single corner. It reads streetwear and leaves most of the vest clean — good when you want the garment’s own pattern to stay the star.
Whatever pattern you pick, apply it to the whole vest. A pyramid on the front and a random pile on the back reads as two different owners.
Patches are a system, so plan for growth
Buy the anchor patch first, and buy the best version you can afford. Cheap anchors get replaced, and replacing one usually means rethinking the whole layout. Supporting patches can be cheap, seasonal, and disposable — that is what the rotation zone is for.
When you are ready to build, start with a vest whose loop panels fit real patches: full-size chest and back fields, reinforced stitching at the panel edges, and fabric that will not sag under a heavy PVC anchor. Spec those panels exactly how you want them at markyourvibe.com — your cut, your colors, your loop coverage. Then let the patches do the talking. Your Gear, Your Rules.
Frequently Asked Questions
How do you lay out patches on a tactical vest?
Plan patches in zones before you attach anything. Put your largest identifier patch on the back panel, one hero patch centered on the chest, and smaller morale or flag patches on the shoulders and the hook-and-loop pocket flaps. Leave visible breathing room around each patch so the layout reads as deliberate rather than crowded.
What patch sizes fit a tactical vest?
Most tactical vests take a 3 to 4 inch patch on the chest, a 6 to 10 inch patch across the back, and 1 to 2 inch patches on shoulders and pocket flaps. Measure the flat hook-and-loop area on your vest and size the patch to about 80 percent of that area.
Can patches be removed and rearranged later?
Yes. Hook-and-loop patches lift off and reposition in seconds, which is why they are the fastest way to update a vest. Sew-on and adhesive-backed patches are permanent, so use those only for the elements you never plan to change.
Does MarkYourVibe print the vest artwork as well as patches?
Yes. MarkYourVibe can print your artwork directly onto the vest fabric and you can add hook-and-loop patches on top, so the printed base and the swappable patches work as one design.

10 Comments on “The Patch Layout Playbook for Custom Tactical Vests”